Description
Hardware Hookup (Taken from lastminuteengineers)
Now that we know everything about the module, let’s construct our own CAN network.
Example 1: Simple two node CAN Network
In this example, a simple two node CAN bus network is constructed – one node transmits a message, the other receives it.
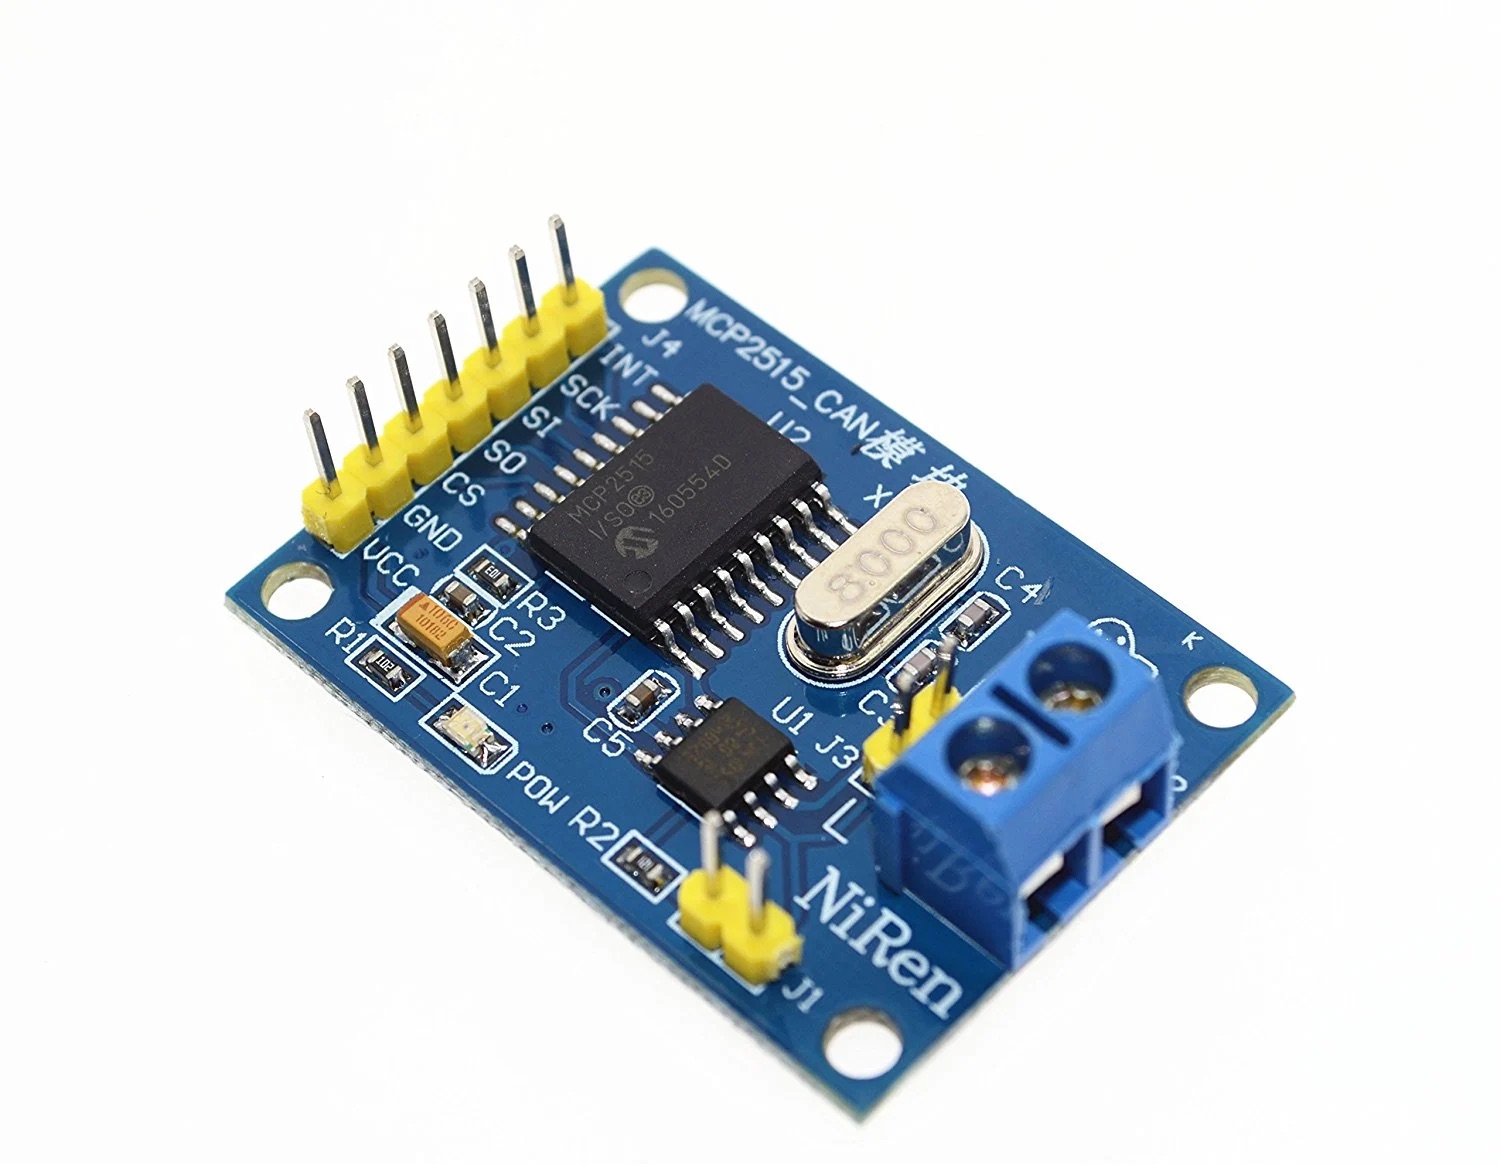
To begin, connect the VCC pin on the module to 5V on the Arduino and the GND pin to ground.
Let’s wire up the SPI pins. Note that each Arduino board has a unique set of SPI pins that must be connected accordingly. For Arduino boards such as the UNO/Nano V3.0, these pins are digital 13 (SCK), 12 (MISO), 11 (MOSI), and 10 (CS). If you’re using a different Arduino board, check the official documentation for SPI pin locations before proceeding.
Now, connect the module’s INT pin to the Arduino’s digital pin 2.
You need to make two such circuits. One will act as a transmitter and the other as a receiver. Both have the same wiring.
Connecting the modules is straightforward: CAN L connects to CAN L and CAN H connects to CAN H. The wires should ideally be twisted pair, but for simple breadboard testing or other short runs, this is not required.
It’s important to keep in mind that as the bus length increases or environmental electrical noise increases, using twisted pair and adding shielding becomes more important.
Finally, place the jumper on both modules, as this is a simple two-node CAN bus network.
Construct the network as shown.

Example 2: Multi-Node CAN Network
In this example, a larger CAN network is constructed – multiple nodes send messages and one node relays them to a PC over a serial port.
Other nodes can be added between the two end nodes. These can be spliced in-line or attached to the main bus using a short stub cable as long as the length is kept under 12″.
Finally, place the jumper on the CAN network’s first and last nodes and remove it from the nodes in between.
Construct the network as shown.

Library Installation
There’s a really great library available for working with the MCP2515 module. You will need to download and install it in your Arduino IDE.
To install the library, navigate to Sketch > Include Library > Manage Libraries… Wait for the Library Manager to download the library index and update the list of installed libraries.

Filter your search by entering ‘mcp2515’. Look for CAN by Sandeep Mistry. Click on that entry and then choose Install.

Arduino Example Code
In this simple test, we’ll attempt to transmit a “Hello World” message on the CAN bus to see if it can be decoded. It will help you learn how to use the modules and can serve as the foundation for more practical experiments and projects.
Code for the Transmitter Node
Upload this sketch to the transmitter node.
If you have multiple nodes on a CAN bus, upload this sketch to each of the transmitter nodes. Make sure to change the message IDs to unique values for each node.
#include <CAN.h>

void setup() {
  Serial.begin(9600);
  while (!Serial);

  Serial.println("CAN Sender");

  // start the CAN bus at 500 kbps
  if (!CAN.begin(500E3)) {
    Serial.println("Starting CAN failed!");
    while (1);
  }
}

void loop() {
  // send packet: id is 11 bits, packet can contain up to 8 bytes of data
  Serial.print("Sending packet ... ");

  CAN.beginPacket(0x12);
  CAN.write('h');
  CAN.write('e');
  CAN.write('l');
  CAN.write('l');
  CAN.write('o');
  CAN.endPacket();

  Serial.println("done");

  delay(1000);

  // send extended packet: id is 29 bits, packet can contain up to 8 bytes of data
  Serial.print("Sending extended packet ... ");

  CAN.beginExtendedPacket(0xabcdef);
  CAN.write('w');
  CAN.write('o');
  CAN.write('r');
  CAN.write('l');
  CAN.write('d');
  CAN.endPacket();

  Serial.println("done");

  delay(1000);
}
Code for the Receiver Node
Upload this sketch to the receiver node.
#include <CAN.h>

void setup() {
  Serial.begin(9600);
  while (!Serial);

  Serial.println("CAN Receiver Callback");

  // start the CAN bus at 500 kbps
  if (!CAN.begin(500E3)) {
    Serial.println("Starting CAN failed!");
    while (1);
  }

  // register the receive callback
  CAN.onReceive(onReceive);
}

void loop() {
  // do nothing
}

void onReceive(int packetSize) {
  // received a packet
  Serial.print("Received ");

  if (CAN.packetExtended()) {
    Serial.print("extended ");
  }

  if (CAN.packetRtr()) {
    // Remote transmission request, packet contains no data
    Serial.print("RTR ");
  }

  Serial.print("packet with id 0x");
  Serial.print(CAN.packetId(), HEX);

  if (CAN.packetRtr()) {
    Serial.print(" and requested length ");
    Serial.println(CAN.packetDlc());
  } else {
    Serial.print(" and length ");
    Serial.println(packetSize);

    // only print packet data for non-RTR packets
    while (CAN.available()) {
      Serial.print((char)CAN.read());
    }
    Serial.println();
  }

  Serial.println();
}
Notice that the loop function is left empty, as the sketch uses an interrupt to notify the Arduino whenever a valid message is received and loaded into one of the receive buffers.
Demonstration
After uploading the sketch, open the serial monitor at a baud rate of 9600. The transmitter node sends a standard CAN packet and an extended CAN packet every second.

The receiver node receives it and passes it on to the PC over the serial port.